> ## Documentation Index
> Fetch the complete documentation index at: https://bruno-a6972042-docs-clustered-top-nav-v2.mintlify.site/llms.txt
> Use this file to discover all available pages before exploring further.
# Okta SCIM provisioning with Bruno
This guide will walk you through setting up SCIM (System for Cross-domain Identity Management) provisioning with Bruno using Okta SWA (Secure Web Authentication).
**Prerequisites**: Before configuring Okta, you must first enable SCIM provisioning in Bruno and generate an API key. Follow the [Enabling SCIM Provisioning](./overview#enabling-scim-provisioning) section in the overview page to complete this setup and save your API key for use in the steps below.
## Create your Okta App
**Already have an Okta App for SSO?** If you previously set up a Bruno Okta application for [SAML SSO](../saml-sso/configure-saml-sso-with-okta), you can reuse it for SCIM provisioning. Skip to the [Configure your Okta App](#configure-your-okta-app) section to add provisioning to your existing application.
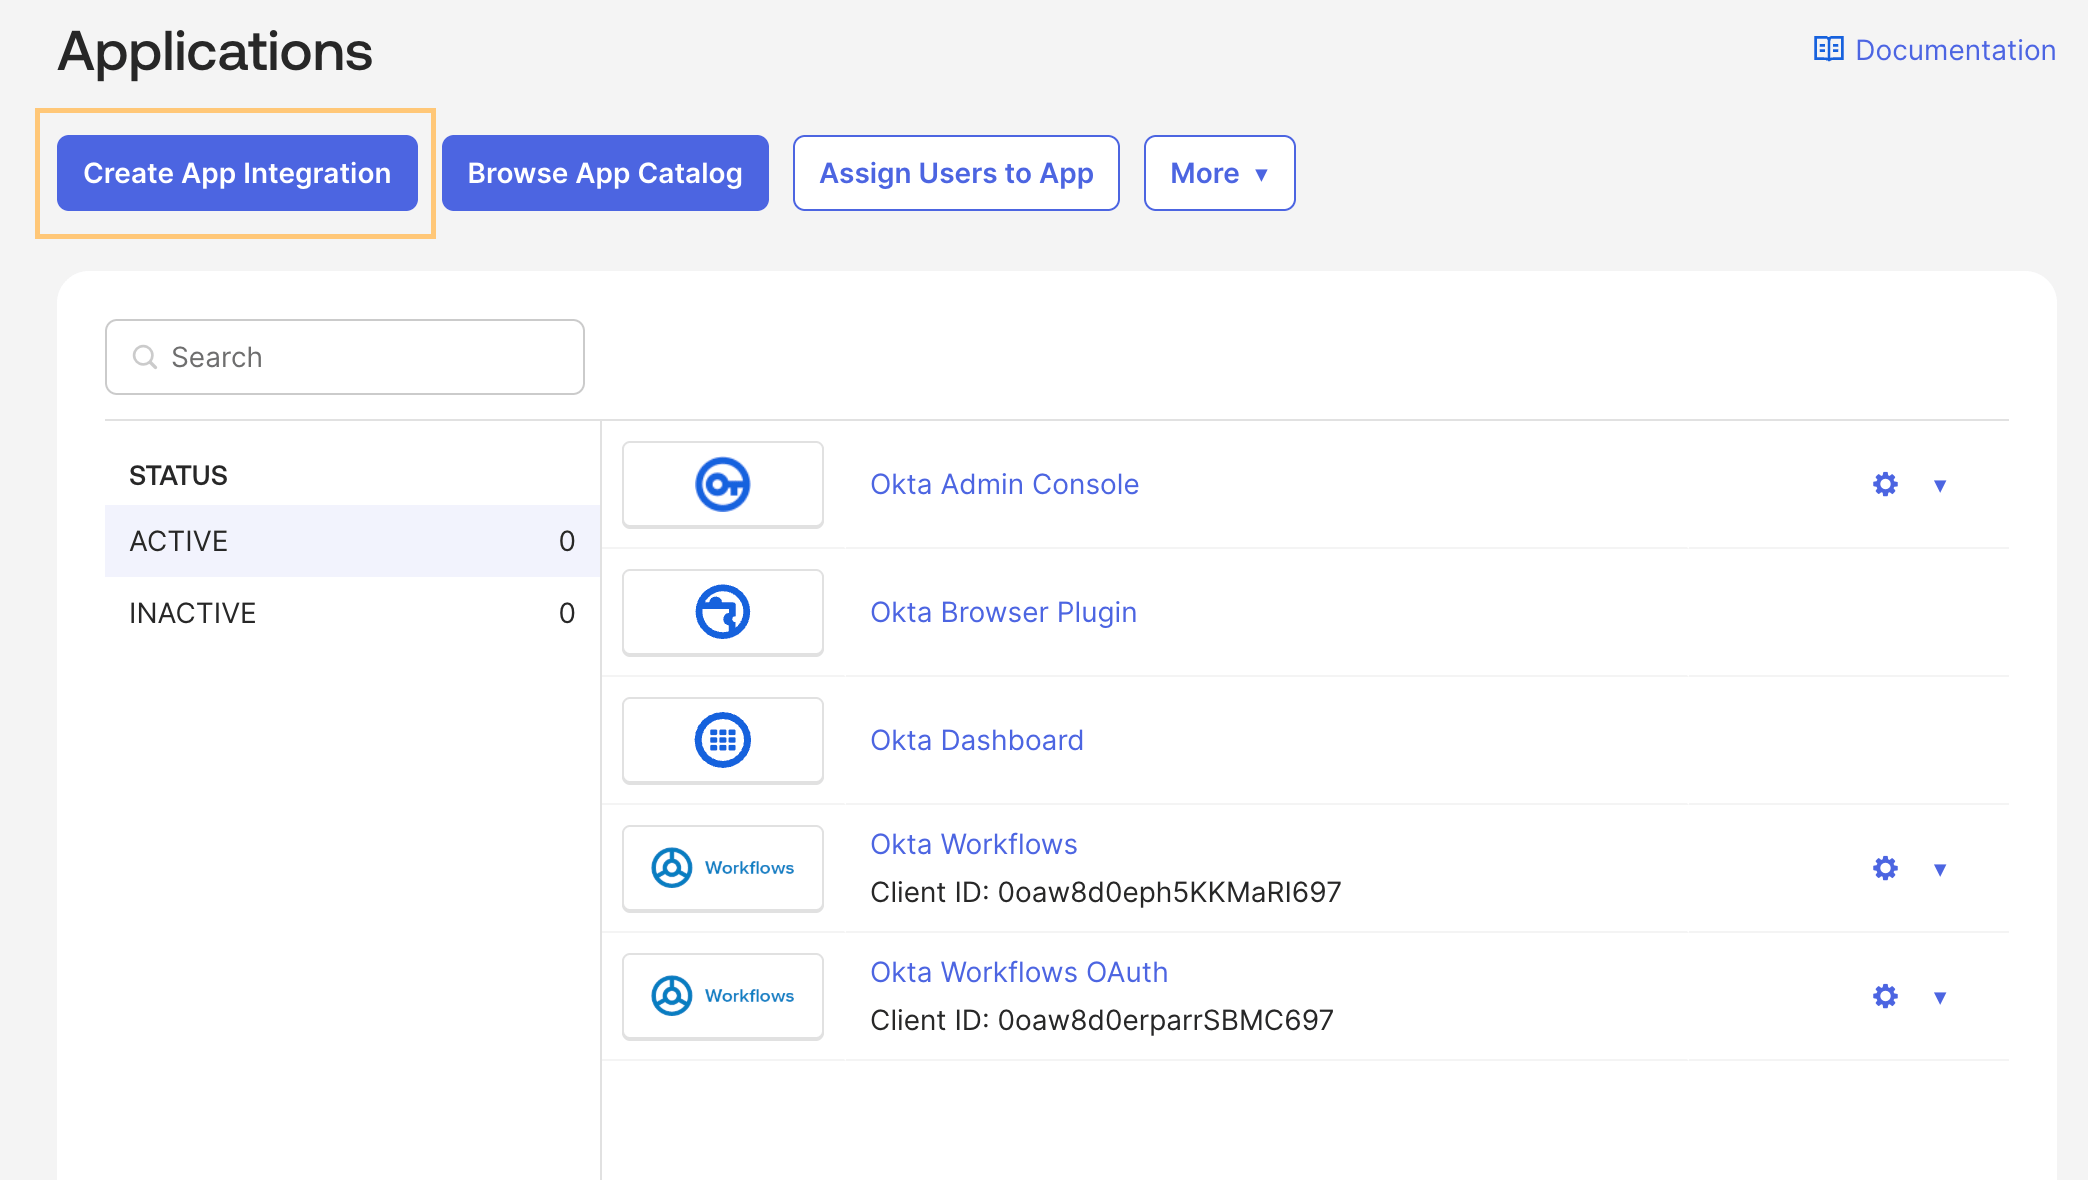
1. As an Okta admin, navigate to **Applications** and click **Create App Integration**
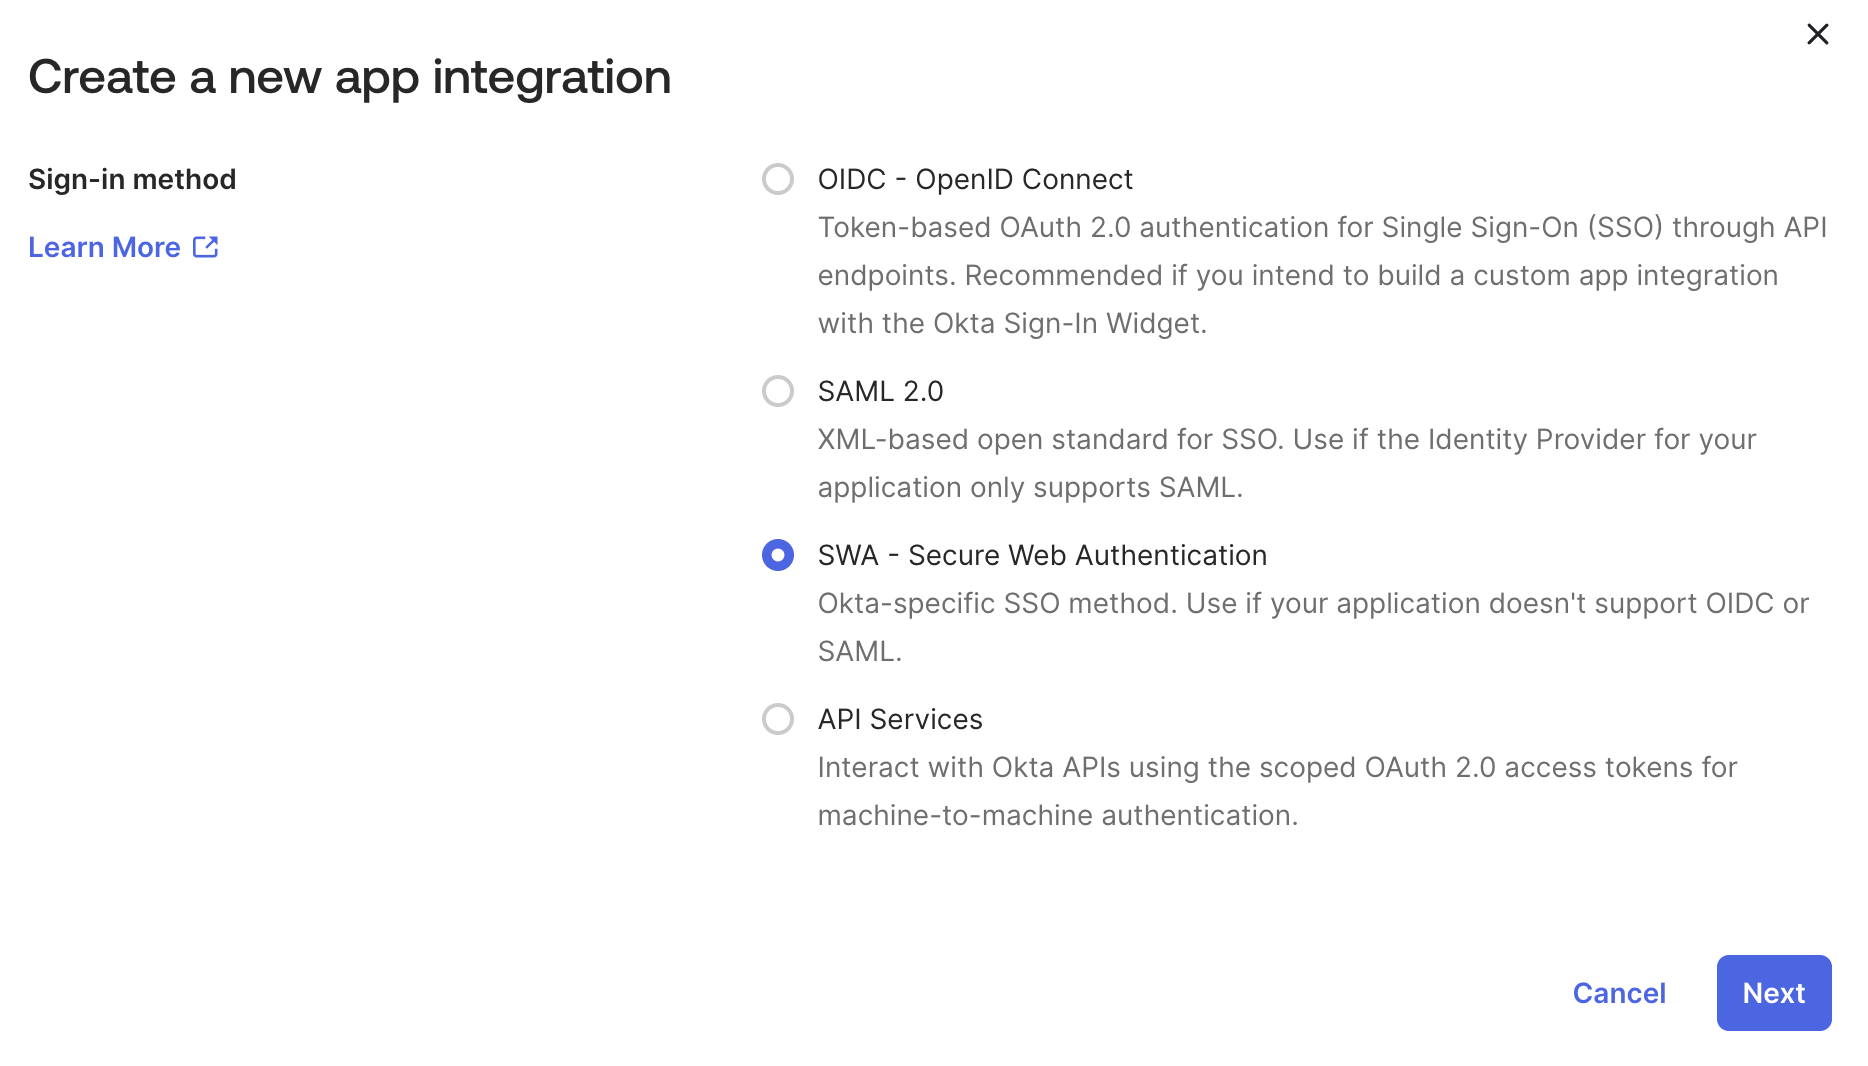
 2. Select **SWA - Secure Web Authentication** and click **Next**
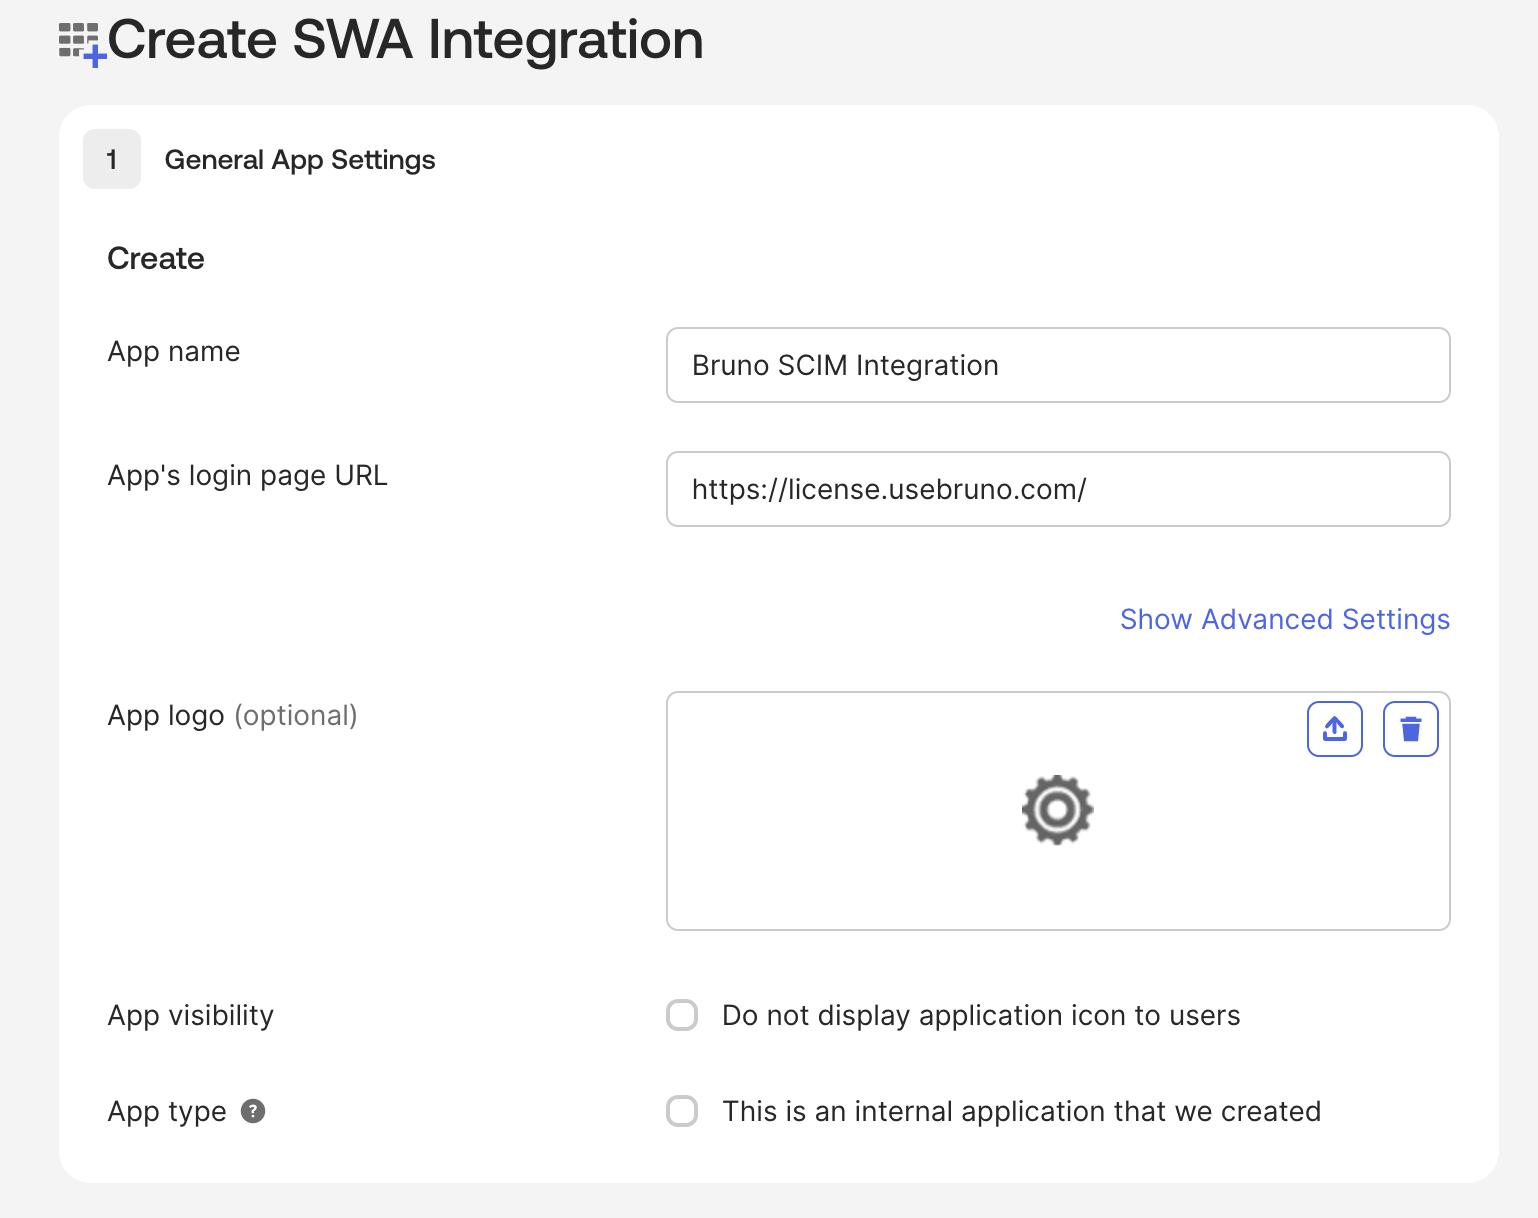
 3. On the **Create SWA Integration** page, add the following values and click **Finish**:
* **App name**: (Unique App Name - e.g. Bruno SCIM Integration)
* **App's login page URL**: `https://license.usebruno.com/`
3. On the **Create SWA Integration** page, add the following values and click **Finish**:
* **App name**: (Unique App Name - e.g. Bruno SCIM Integration)
* **App's login page URL**: `https://license.usebruno.com/`
 ## Configure your Okta App
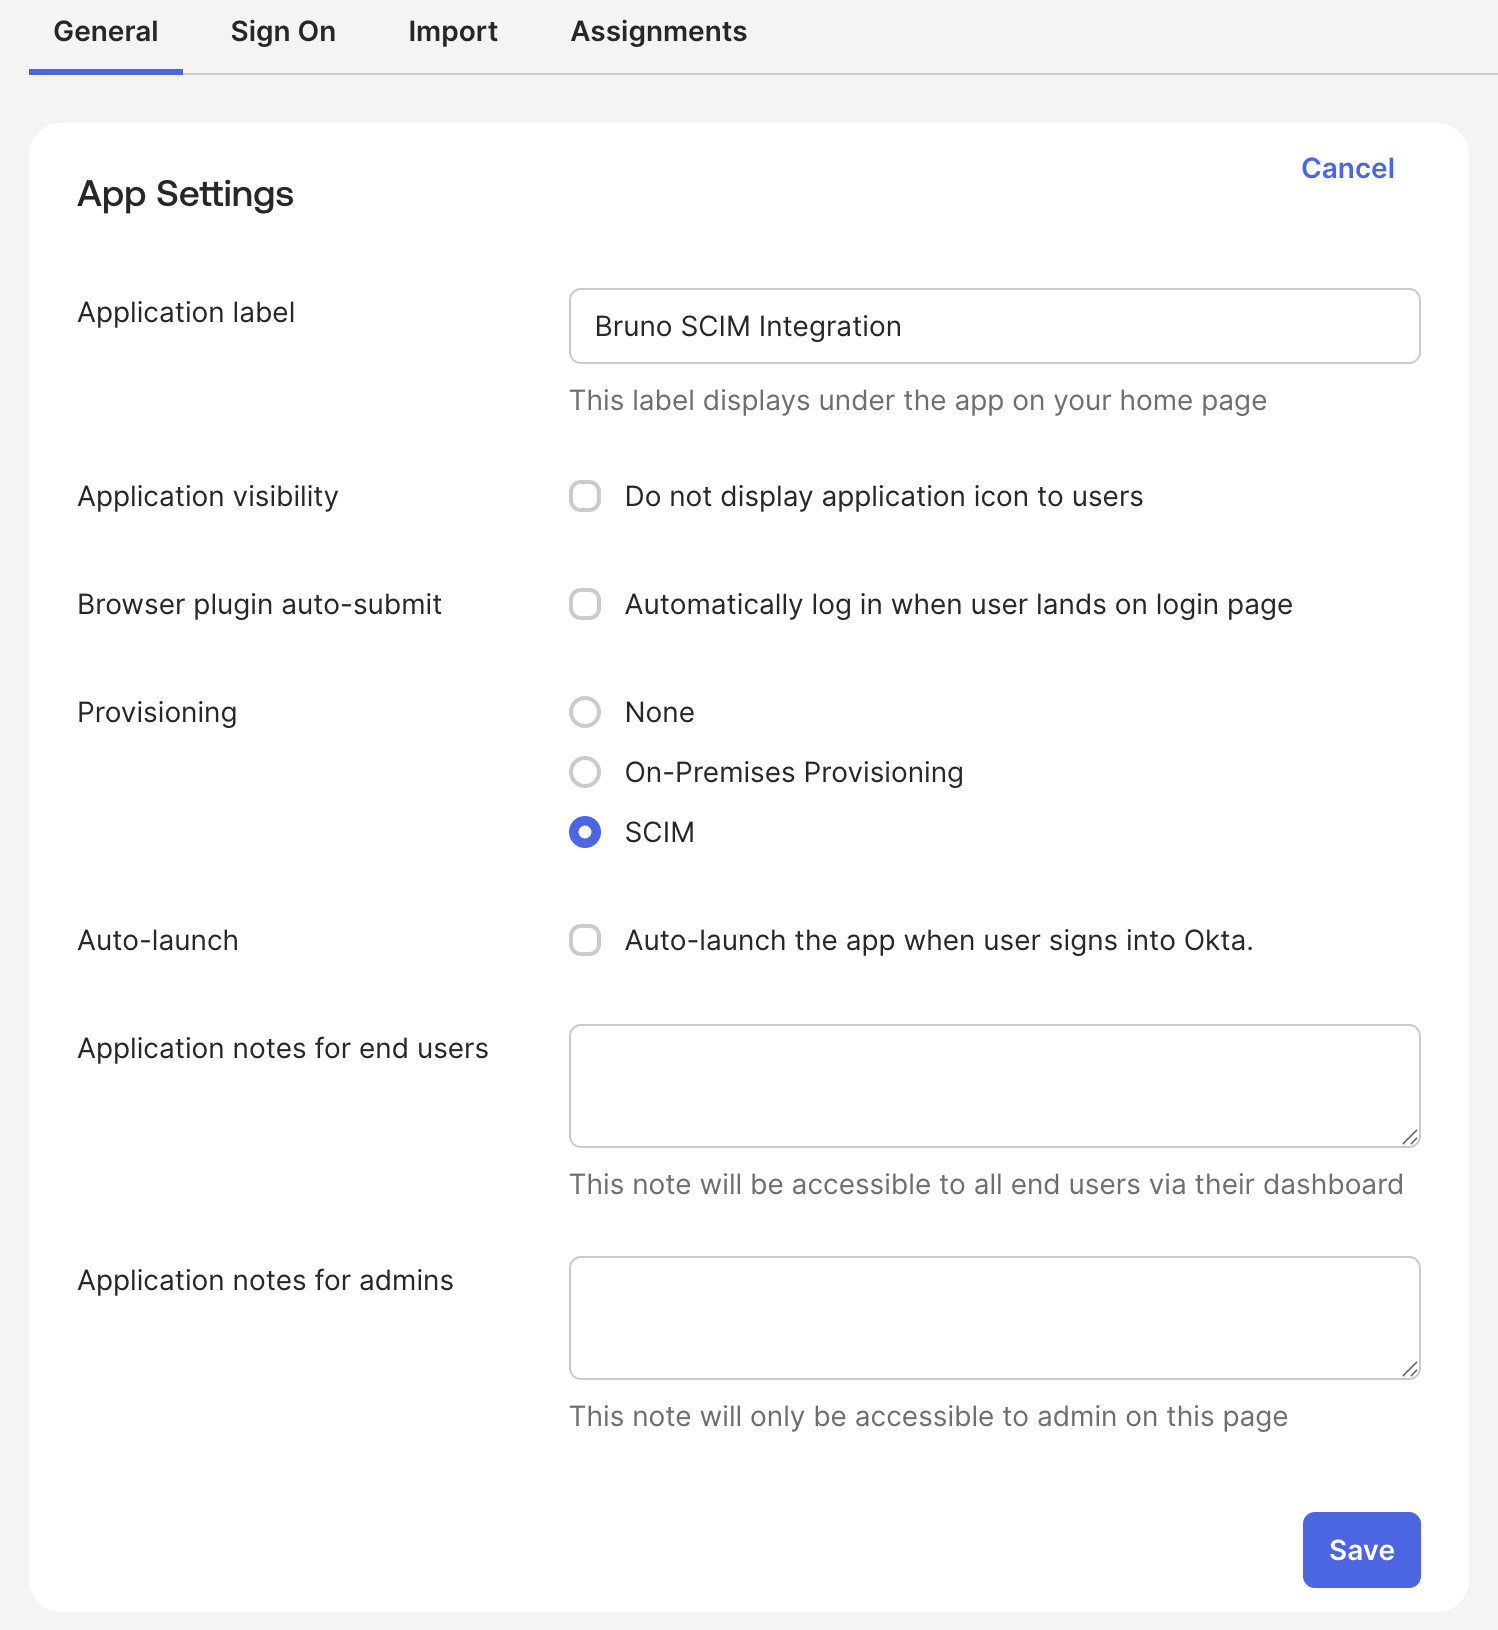
1. On your newly created application page, select the **General** tab
2. Under **App Settings**, select **Edit**, and check the **Provisioning** option **SCIM** and click **Save**
## Configure your Okta App
1. On your newly created application page, select the **General** tab
2. Under **App Settings**, select **Edit**, and check the **Provisioning** option **SCIM** and click **Save**
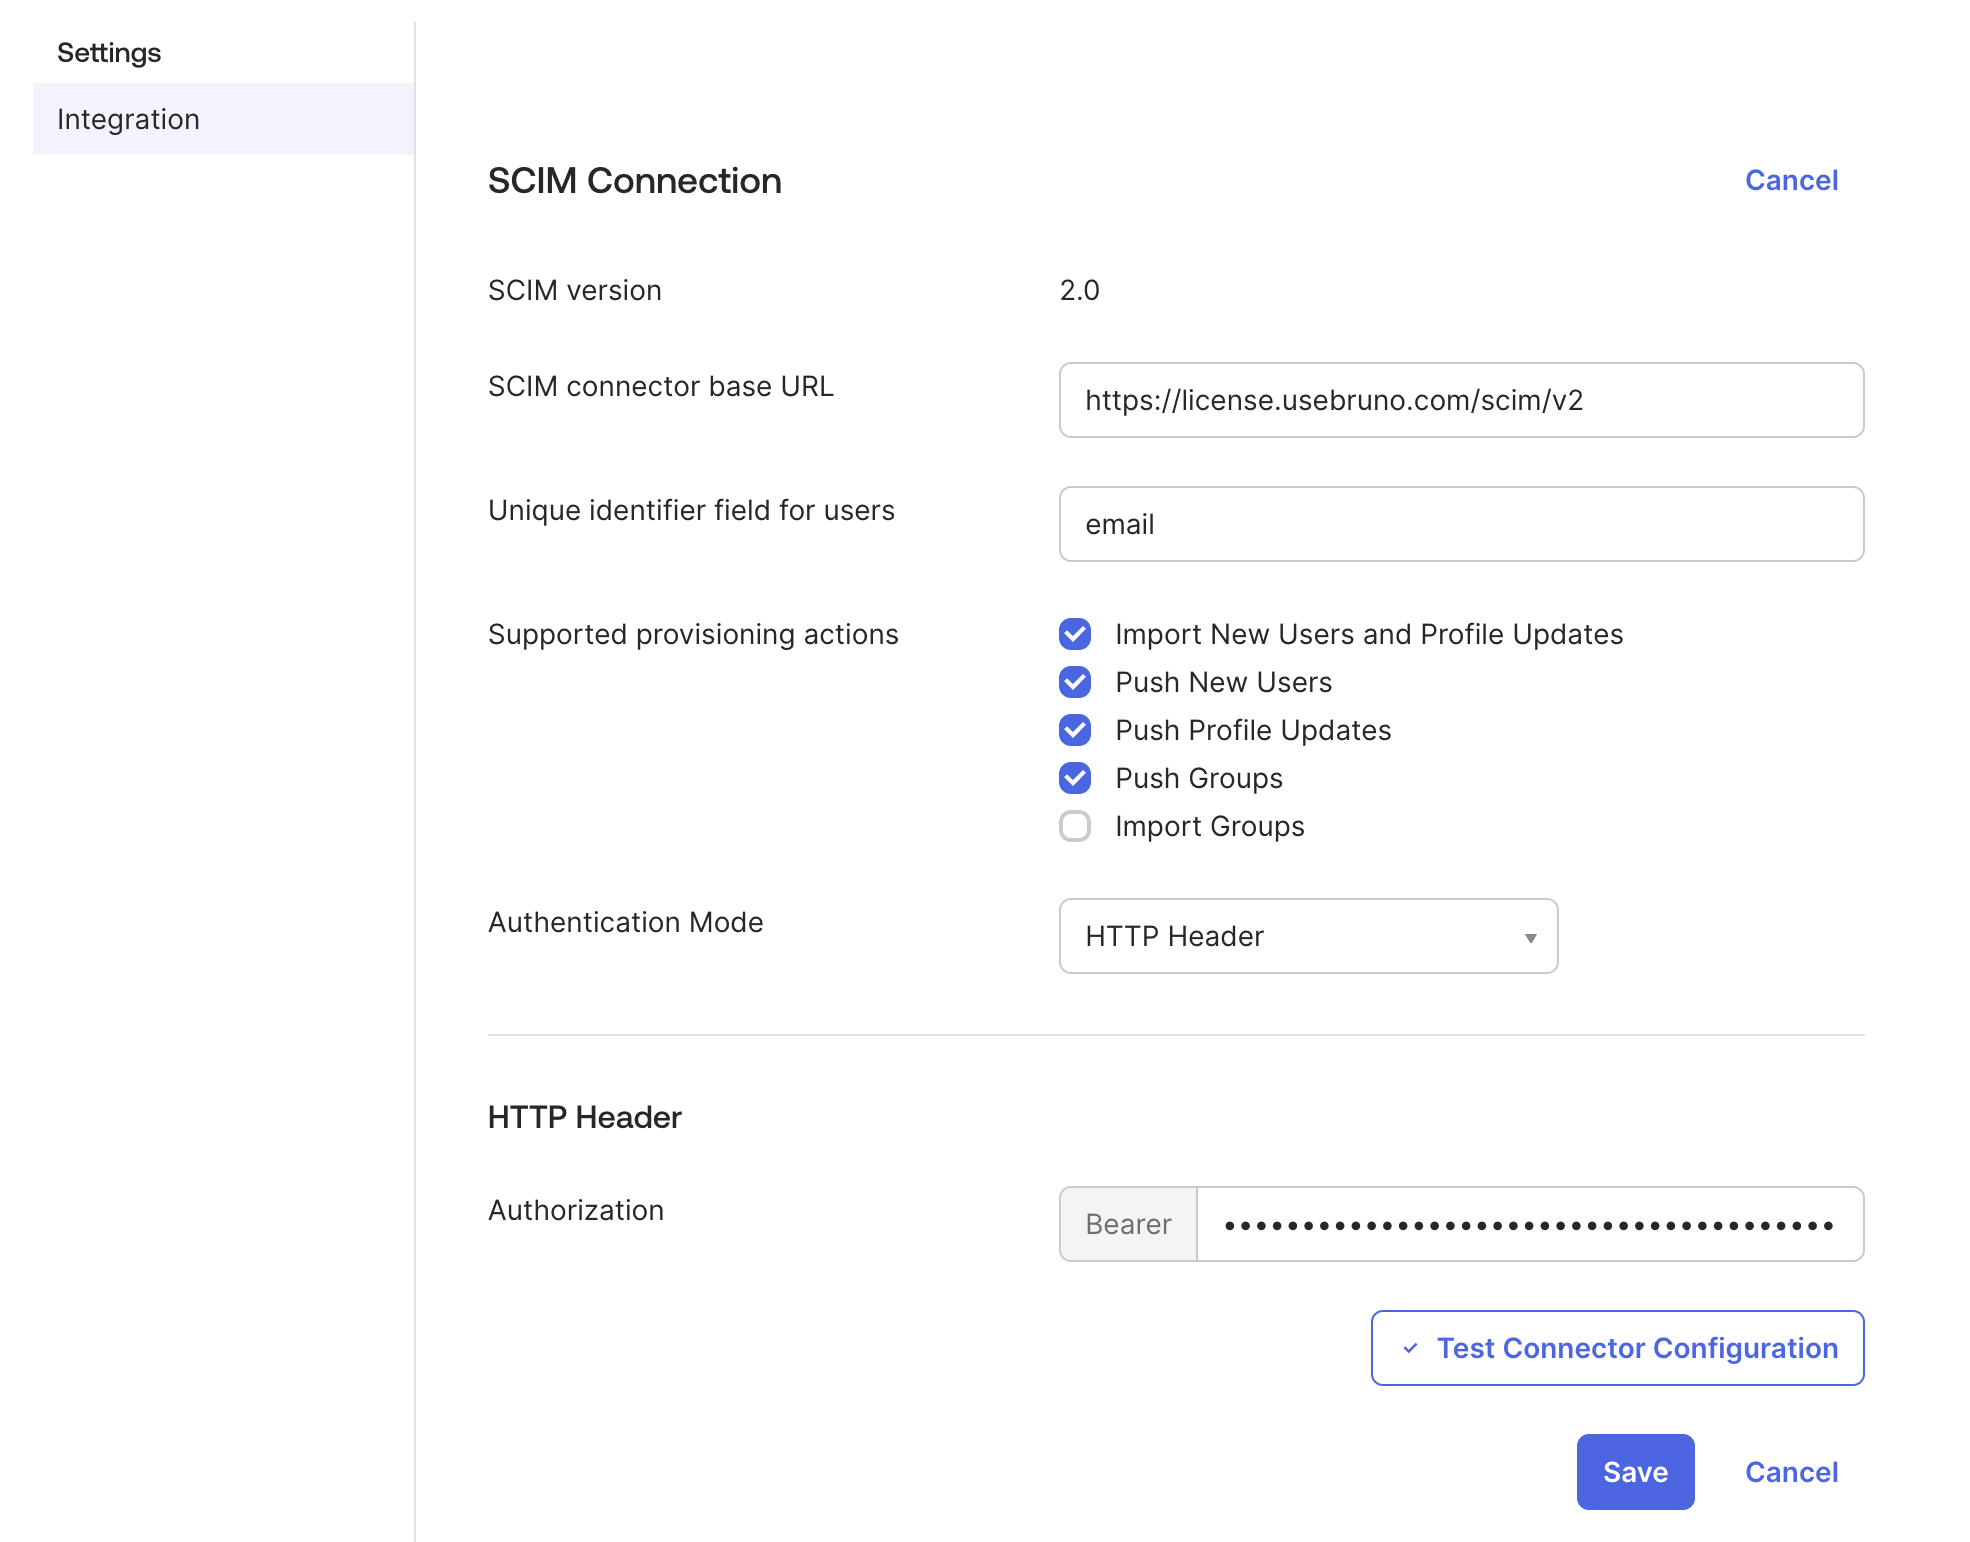
 3. Return to your Okta app, select the **Provisioning** tab, under **SCIM Connection** select **Edit** and configure the following values:
* **SCIM connector base URL**: `https://license.usebruno.com/scim/v2`
* **Unique identifier field for users**: `email`
* **Supported provisioning actions**: Check the following options:
* `Import New Users and Profile Updates`
* `Push New Users`
* `Push Profile Updates`
* `Push Groups`
* **Authentication**: set to **HTTP Header**
* Under **HTTP Header**, for **token**: add the generated API Key value from the [prerequisites step](./overview#enabling-scim-provisioning)
3. Return to your Okta app, select the **Provisioning** tab, under **SCIM Connection** select **Edit** and configure the following values:
* **SCIM connector base URL**: `https://license.usebruno.com/scim/v2`
* **Unique identifier field for users**: `email`
* **Supported provisioning actions**: Check the following options:
* `Import New Users and Profile Updates`
* `Push New Users`
* `Push Profile Updates`
* `Push Groups`
* **Authentication**: set to **HTTP Header**
* Under **HTTP Header**, for **token**: add the generated API Key value from the [prerequisites step](./overview#enabling-scim-provisioning)
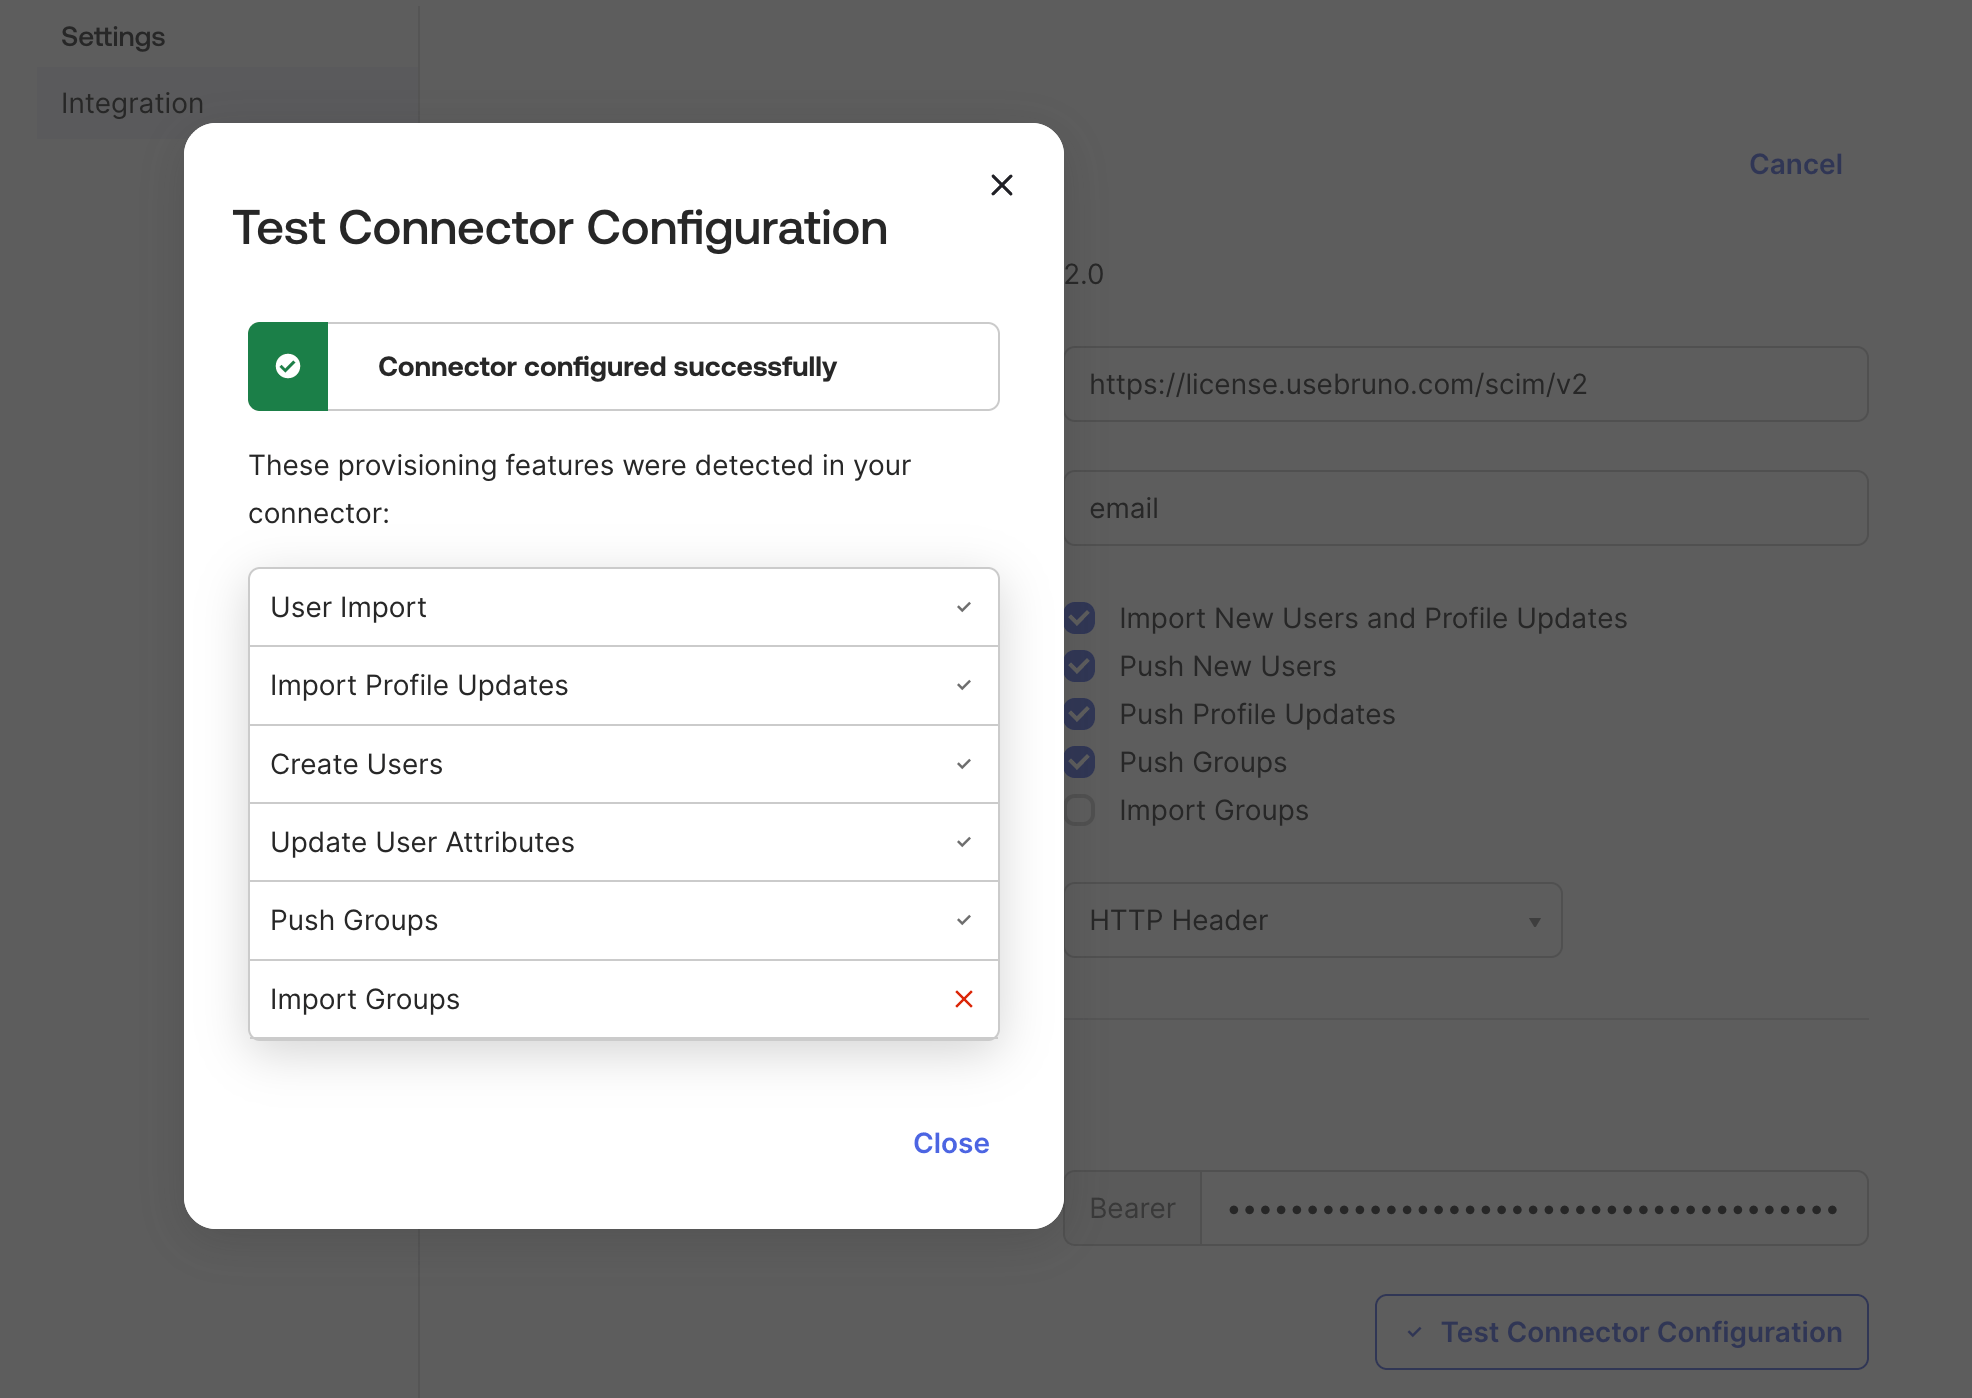
 4. Click **Test Connector Configuration**. If successful, a **Connector configured successfully** message dialogue appears.
 5. Click **Save** to complete the Provisioning integration.
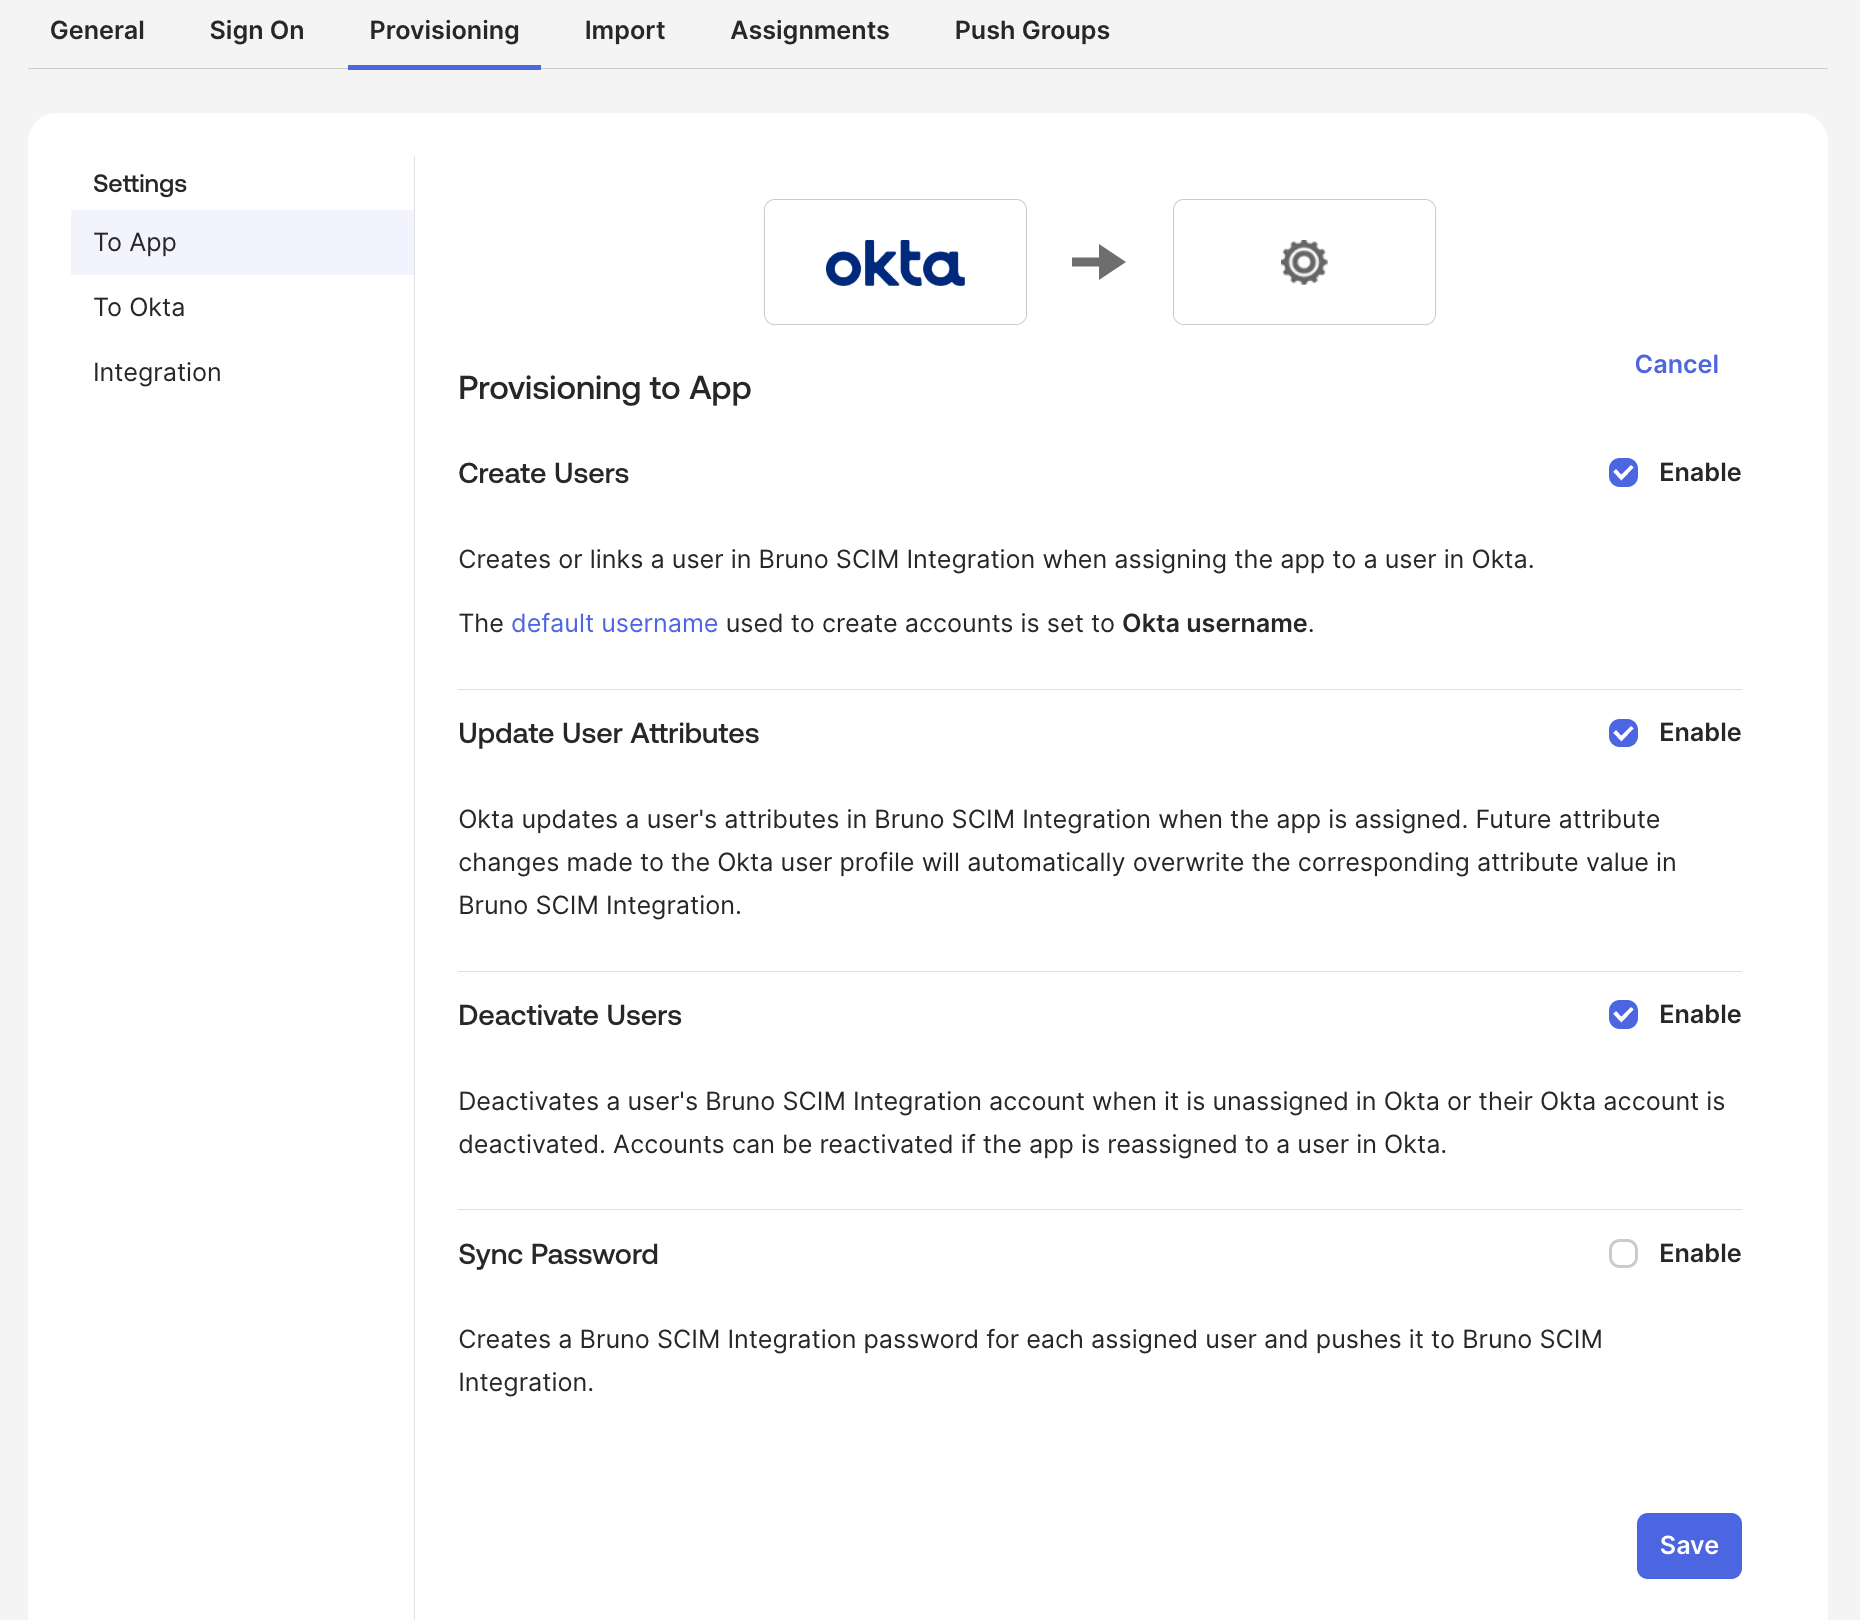
6. Under the **Provisioning** tab, select the **To Apps** setting, edit and enable the following options and click **Save**:
* `Create Users`
* `Update User Attributes`
* `Deactivate Users`
5. Click **Save** to complete the Provisioning integration.
6. Under the **Provisioning** tab, select the **To Apps** setting, edit and enable the following options and click **Save**:
* `Create Users`
* `Update User Attributes`
* `Deactivate Users`
 Your SCIM integration is now complete. You can now begin [assigning users to Bruno](#assign-people-and-groups-to-bruno-in-okta).
## Assign people and groups to Bruno in Okta
1. Under your created Bruno Application, navigate to the **Assignments** tab
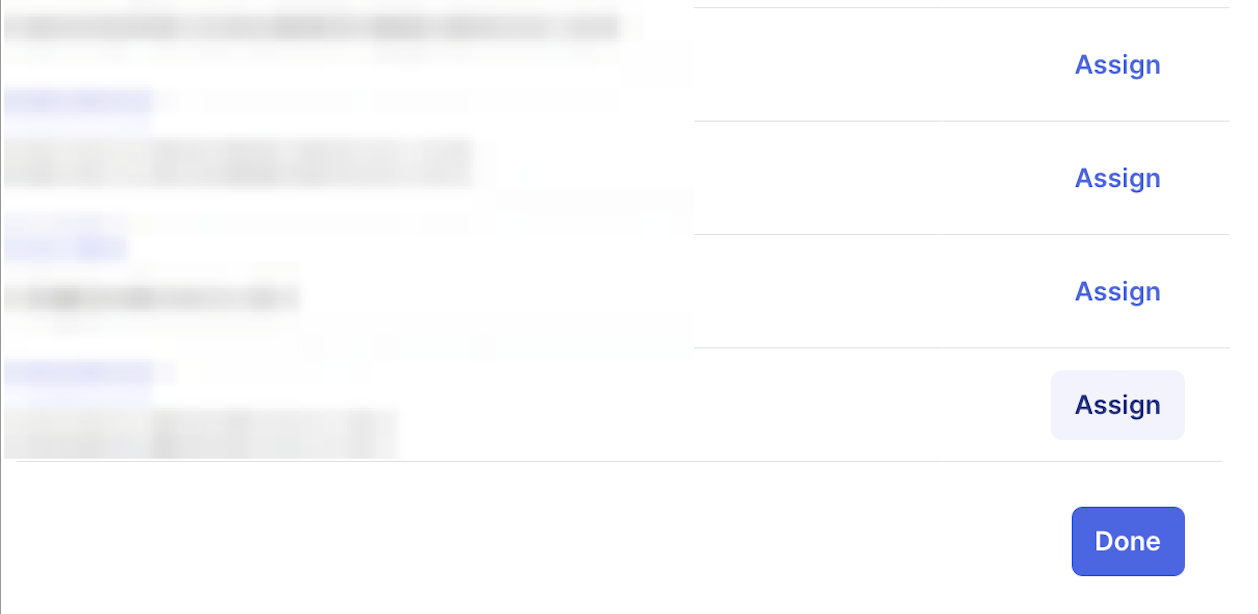
2. Select **Assign** and either **Assign to People** or **Assign to Groups** to provision Bruno license keys
Your SCIM integration is now complete. You can now begin [assigning users to Bruno](#assign-people-and-groups-to-bruno-in-okta).
## Assign people and groups to Bruno in Okta
1. Under your created Bruno Application, navigate to the **Assignments** tab
2. Select **Assign** and either **Assign to People** or **Assign to Groups** to provision Bruno license keys
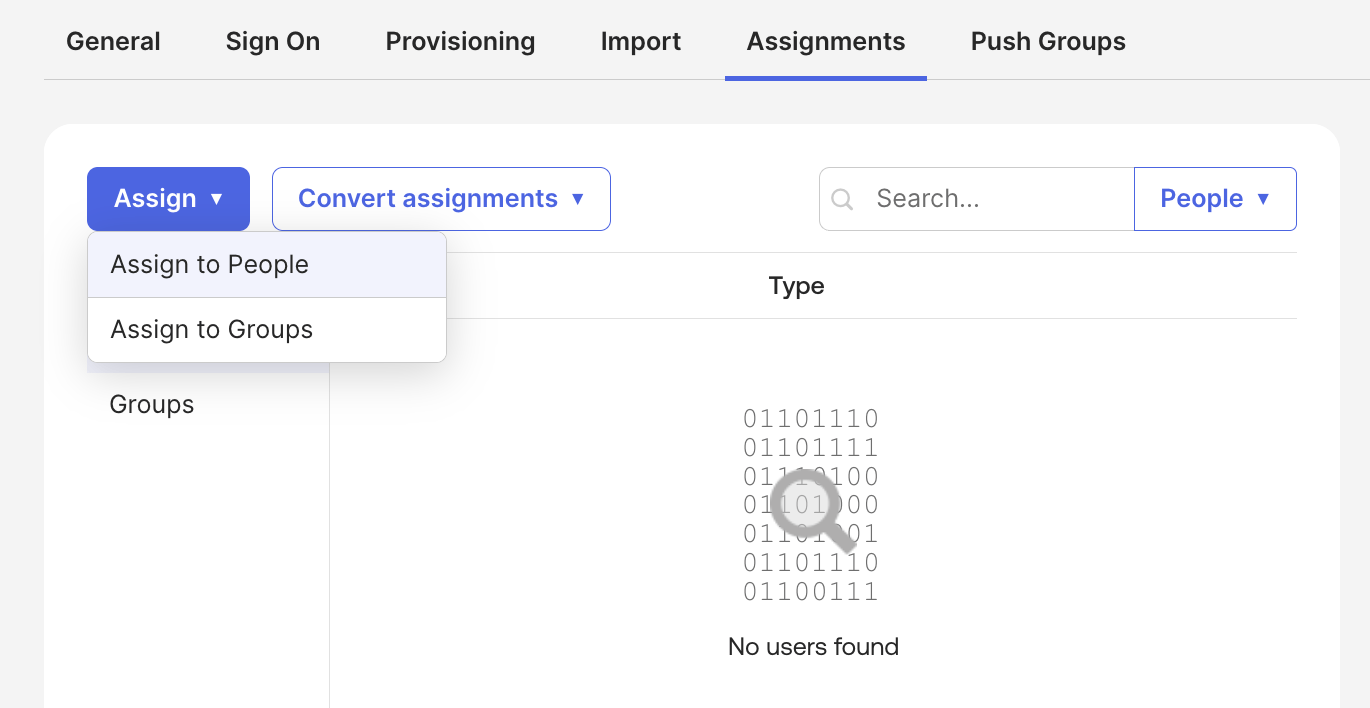
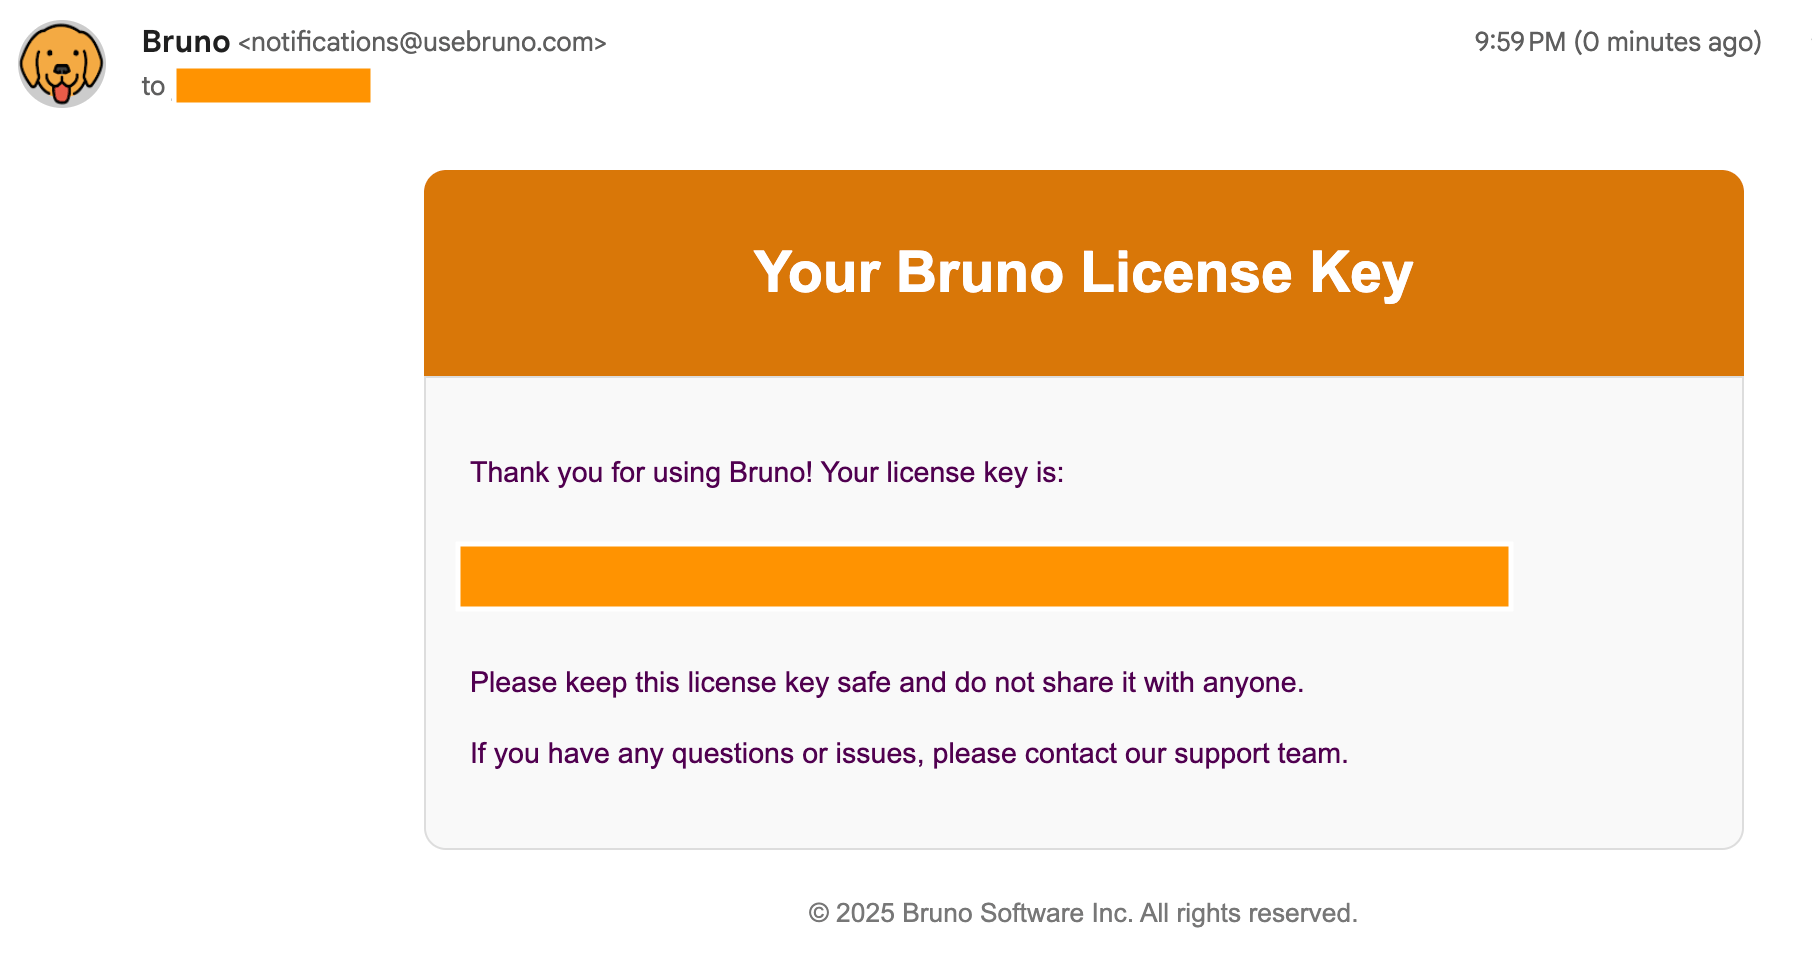
 3. Assigned Users will receive an email with their **License Key**
 ## Deprovision users from Bruno in Okta
1. Under your created Bruno Application, navigate to the **Assignments** tab
## Deprovision users from Bruno in Okta
1. Under your created Bruno Application, navigate to the **Assignments** tab
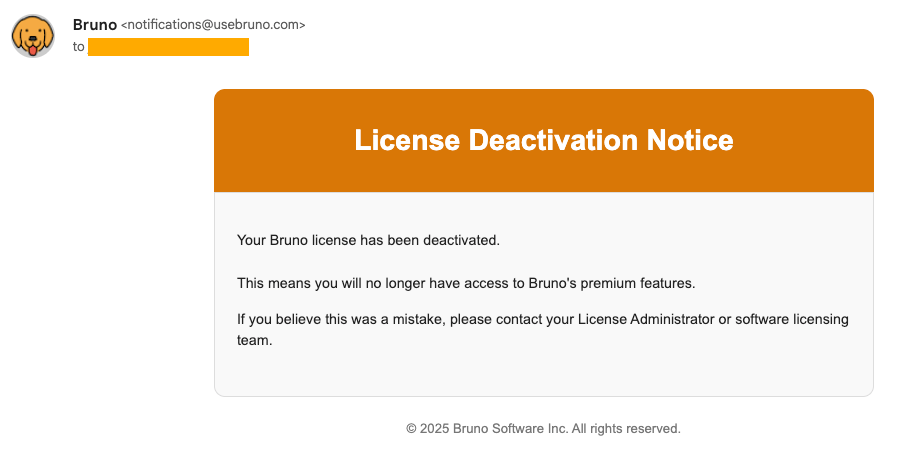
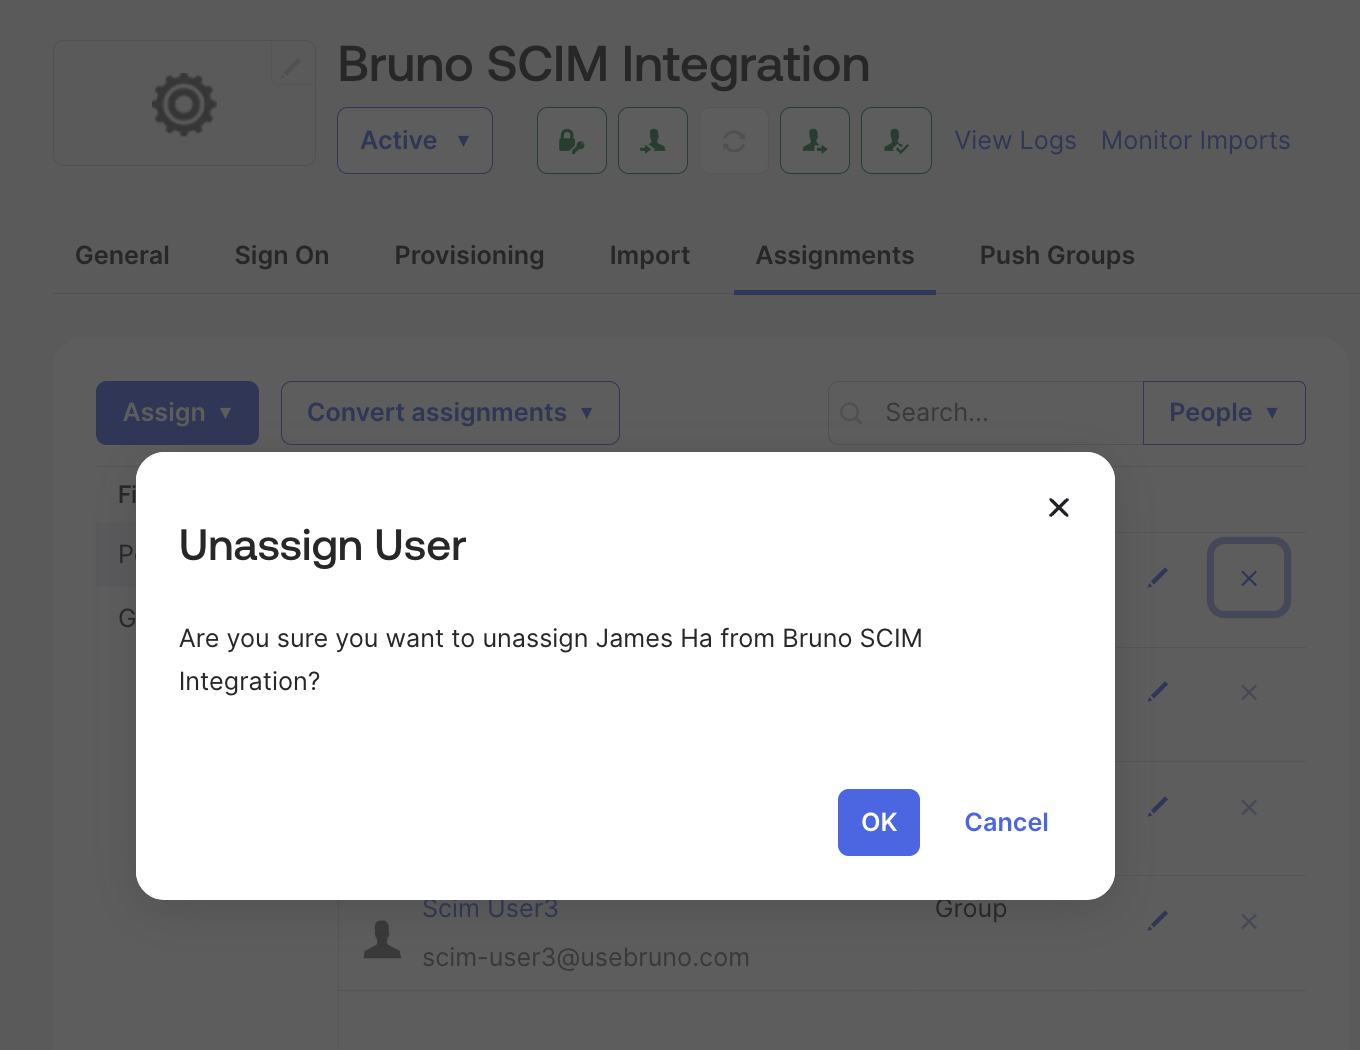 2. Remove the desired users or groups, their license key(s) will be deactivated and they will receive an email notification
 ## Related Resources
For more information about configuring SCIM provisioning with Okta, refer to these Okta documentation resources:
* [Add SCIM provisioning to app integrations](https://help.okta.com/en-us/content/topics/apps/apps_app_integration_wizard_scim.htm) - Step-by-step guide for adding SCIM provisioning to Okta applications
* [SCIM 2.0 protocol overview](https://help.okta.com/en-us/content/topics/provisioning/opp/opp-provision-scim-messages.htm) - Reference for SCIM 2.0 messages and provisioning operations
* [On-premises provisioning with SCIM](https://help.okta.com/en-us/content/topics/provisioning/opp/opp-architecture.htm) - Architecture and setup for SCIM provisioning
* [Test SCIM connectors](https://help.okta.com/en-us/content/topics/provisioning/opp/opp-test-scim-server.htm) - Guide for testing SCIM connectors and servers
* [Okta provisioning documentation](https://help.okta.com/en-us/content/topics/provisioning/provisioning.htm) - Comprehensive provisioning documentation and best practices
## Related Resources
For more information about configuring SCIM provisioning with Okta, refer to these Okta documentation resources:
* [Add SCIM provisioning to app integrations](https://help.okta.com/en-us/content/topics/apps/apps_app_integration_wizard_scim.htm) - Step-by-step guide for adding SCIM provisioning to Okta applications
* [SCIM 2.0 protocol overview](https://help.okta.com/en-us/content/topics/provisioning/opp/opp-provision-scim-messages.htm) - Reference for SCIM 2.0 messages and provisioning operations
* [On-premises provisioning with SCIM](https://help.okta.com/en-us/content/topics/provisioning/opp/opp-architecture.htm) - Architecture and setup for SCIM provisioning
* [Test SCIM connectors](https://help.okta.com/en-us/content/topics/provisioning/opp/opp-test-scim-server.htm) - Guide for testing SCIM connectors and servers
* [Okta provisioning documentation](https://help.okta.com/en-us/content/topics/provisioning/provisioning.htm) - Comprehensive provisioning documentation and best practices